Washer Fills With Water Then Stops
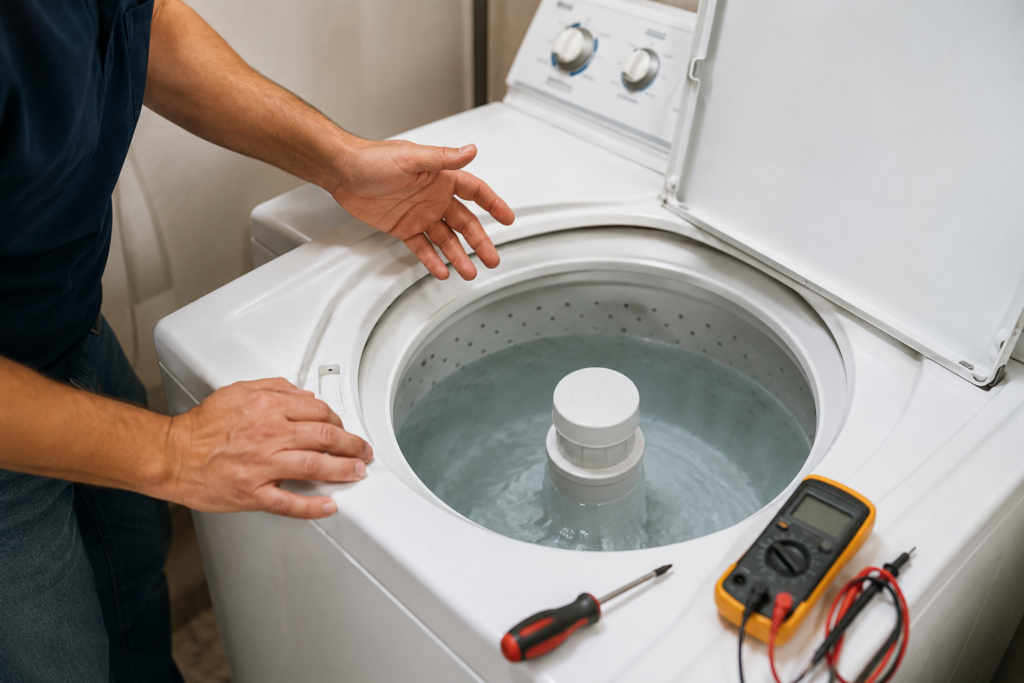
When a washer fills with water then stops before washing even starts, the cause is almost always one of three things: a lid or door switch that isn’t registering as closed, a water level pressure switch that’s stuck or clogged, or a drive component like the motor coupling or belt that gave out right after the fill. Most of these are things you can check yourself in under thirty minutes with tools you probably already have around the house.
This is one of the most common complaints in laundry rooms, and it shows up across nearly every brand. Whirlpool, Maytag, GE, Samsung, LG, Kenmore, you name it. The tub fills like normal, and then… nothing. No agitation, no spin, sometimes not even a sound. Here’s how to work through the likely causes and land on the right fix
Quick Key Takeaways
If your washer fills with water then stops, there’s no need to assume the worst. In many cases, the problem is caused by a faulty lid switch, clogged pressure hose, blocked drain filter, or worn drive component. Working through the simplest checks first can often save both time and unnecessary repair costs.
- Most common cause: A faulty lid switch or door latch prevents the wash cycle from starting.
- Easy DIY check: Inspect the pressure switch hose for kinks, cracks, or blockages.
- If you hear humming: The motor coupling or drive belt may have failed.
- Try before replacing parts: Perform a complete power reset by unplugging the washer for 2–3 minutes.
- Don’t ignore the drain system: A clogged drain filter can stop some washers from continuing the cycle.
- Professional repair may be needed if the control board, wiring harness, or drive motor is defective.
Quick Tip: Always begin with the simplest inspections before replacing expensive components. This approach solves the majority of cases where a washer fills with water but refuses to continue washing.
Quick Answer: Why Does a Washer Fill With Water and Then Stop?
A washing machine moves through its cycle in a fixed order, and each stage depends on a signal from the one before it. Water fills the tub, a switch or sensor confirms the level is correct, and the control board tells the motor to start moving. If any link in that chain fails, the cycle stalls right after filling — which is exactly why a washer fills with water then stops instead of continuing on to agitation.
The most common reasons this happens include:
- A faulty lid switch or door latch
- A defective water level pressure switch or a clogged pressure hose
- A worn motor coupling or a broken drive belt
- A failing drive motor
- A stuck timer or an unresponsive control board
- Loose or corroded wiring
- A clogged drain pump or filter that trips a false error
Below, we’ll go through each of these in the order you should actually check them. starting with the one that’s behind this problem more often than anything else
Check the Lid Switch or Door Latch First
On a top-load washer, the lid switch tells the control board that the lid is closed and it’s safe to agitate. On a front-load washer, the door latch does the same job. When that switch is worn, misaligned, or has a cracked plastic tab, the machine still fills with water as part of its normal routine, but it won’t move forward because it never gets confirmation that the lid is actually secure. This is one of the single most common reasons a washer fills with water then stops, so it’s worth ruling out before you touch anything else.
Start here because it’s cheap, common, and easy to test:
- Open and close the lid firmly and listen for a distinct click.
- If you don’t hear one, or the lid feels loose when shut, the switch has likely failed.
- On many top-load models, you can unplug the washer, pull the control console, and manually depress the switch by hand to see if the cycle attempts to resume.
A cracked lid switch is one of the least expensive parts in the whole machine, and replacing it is a repair most homeowners can handle themselves in well under an hour. If your washer fills but won’t agitate, the lid switch or door latch should be one of the first components you inspect. A faulty safety switch can stop the washer from moving into the wash cycle even though it fills with water normally.
Inspect the Water Level Pressure Switch

If the lid switch checks out fine and the washer still fills with water then stops, the next place to look is the water level pressure switch. sometimes called the pressure sensor or water inlet control. This part connects to a small air-filled hose running down to the bottom of the tub. As water rises, air pressure inside that hose builds, and once it reaches the right level, the switch signals the machine to stop filling and move into the next stage.
When that switch fails, or the hose gets kinked, cracked, or clogged with soap residue, the control board never receives a clean signal. On some machines this causes overfilling. On others, it does the opposite. the washer stops filling and simply halts, because the board reads the bad signal as an error and pauses the cycle as a safety precaution.
To check it yourself: disconnect the hose, look it over for cracks or blockages, and blow gently into it. You should feel resistance, and on many models you’ll hear a faint click from the switch as you do. No click usually means the switch itself needs to be replaced. A washing machine fills with water but won’t start when the pressure switch cannot accurately detect the water level. Inspecting the pressure hose for blockages or damage is often a quick and effective first step.
Rule Out the Motor Coupling or Drive Belt

Here’s a diagnostic clue that narrows things down fast: if you hear a humming sound after the fill but nothing physically moves, you’re likely dealing with a mechanical failure rather than an electrical one. On direct-drive top-load washers, a small rubber-and-plastic motor coupling connects the motor to the transmission. It’s intentionally built as a sacrificial part. designed to wear out before more expensive components do. so it fails fairly often, especially on machines that see heavy weekly use.
When the coupling gives out, the motor keeps spinning, but that motion never reaches the tub, so the washer just sits there full of water and does nothing. Belt-driven machines have a nearly identical failure point: if the belt slips off the pulley or wears through, you’ll see the same symptom. Both parts are relatively inexpensive on their own, though reaching them usually means pulling the cabinet or rear panel, which puts this repair a notch above swapping a lid switch in terms of difficulty. If your washer stops after filling with water, listen for unusual humming or clicking sounds. These noises can indicate a worn motor coupling or a damaged drive belt.
Don’t Overlook the Drain System

It sounds backward, but a clogged drain can be the reason a washer fills with water then stops instead of during the drain phase, where you’d expect a blockage to cause trouble. Many machines run a quick pre-drain check before agitation begins, particularly if there’s leftover water from a prior cycle. If the drain pump, hose, or filter is blocked, the control board can read that as an error condition and pause the cycle to prevent an overflow. even though the tub is sitting there completely full and ready to go.
The drain filter is usually tucked behind a small access panel near the bottom front of the machine. Popping it open and clearing out lint, coins, or a stray sock takes just a few minutes, and it resolves this issue more often than people expect. Keep a towel handy, since some water tends to spill out the moment you open the panel. A washing machine won’t start washing if the control board detects a drainage problem. Cleaning the drain filter regularly can help prevent this issue.
Timer and Control Board Issues

Older washers with mechanical timers can develop worn contacts that prevent the dial from advancing past the fill stage. You’ll usually notice the timer knob isn’t slowly turning the way it does during a normal cycle. it just sits frozen at the same spot every time you run it.
Newer machines rely on electronic control boards instead, and these can glitch after a power surge or a brief outage. Before assuming the board itself has failed, try the simplest fix available: unplug the washer for two to three minutes to let it fully reset, then plug it back in and start a fresh cycle. This clears the issue surprisingly often and costs nothing but a few minutes of patience.
On some models, particularly certain Whirlpool-built machines, you can also perform a lid-reset sequence. opening and closing the lid six times within twelve seconds right after pressing start. This reboots the motor logic and clears minor fault conditions without a full power cycle, and it’s worth trying before you assume the control board needs replacing. A washer not starting wash cycle may simply need a power reset. If the problem continues after resetting, the timer or electronic control board should be inspected.
You May Also Like
If your washer fills with water then stops, these related troubleshooting guides can help you diagnose other common washing machine problems faster and find the right solution.
Common Mistakes to Avoid
A few habits tend to make this problem harder to diagnose than it needs to be. When a washing machine stops after filling, avoid replacing parts without testing them first. A simple inspection can often identify the real cause.
- Replacing parts before testing them. Swapping the lid switch or pressure switch on a guess can mask the real problem, especially if the actual cause is a clogged hose or a loose wire.
- Skipping the power reset. It takes two minutes and solves more control board glitches than people assume.
- Overloading the washer. A heavy, unbalanced load can prevent some models from safely starting agitation, which looks identical to a switch or sensor failure.
- Ignoring a humming sound. That hum is a useful clue pointing toward the motor coupling or belt. don’t dismiss it as normal operation
Safety Note Before Troubleshooting
Protect yourself and your washing machine before performing any inspection.
Before removing any access panels or testing internal components, always disconnect the washer from the electrical outlet. Even when the machine appears to be off, certain electrical components may still carry power. Taking a few simple safety precautions can help prevent electric shock, accidental injury, and unnecessary damage to your appliance.
- Always unplug the washing machine before beginning any inspection or repair.
- Turn off both hot and cold water supply valves if hoses or internal water components will be removed.
- Keep towels or a shallow container nearby in case water drains from the pump or filter.
- Never force electrical connectors, wiring plugs, or plastic clips during disassembly.
- If you notice a burning smell, smoke, sparks, or exposed wiring, stop troubleshooting immediately.
- Leave control board and live electrical testing to a qualified appliance technician if you’re unsure.
Important: If your washer is still covered by the manufacturer’s warranty, opening the cabinet or replacing internal components yourself may affect warranty coverage. Check your warranty terms before performing major repairs.
A Simple Order to Work Through the Checks
Rather than jumping straight to the most complicated explanation, work from the fastest and cheapest checks toward the more involved ones:
- Test the lid switch or door latch.
- Power-cycle the washer for a full reset.
- Inspect the pressure switch hose for kinks or blockages.
- Clear out the drain filter.
- Listen for humming, which points toward the motor coupling or belt.
Working through this list in order usually narrows down why the washer fills with water then stops within about thirty minutes, without needing to take the whole cabinet apart on your first attempt. If your washer won’t continue cycle, following the troubleshooting steps in order will help narrow down the fault without unnecessary repairs.
Preventing This Problem Going Forward
A little routine maintenance goes a long way toward keeping this from happening again:
- Clean the drain filter every few months, not just when there’s already a problem.
- Avoid overloading the tub, especially with heavy items like towels or bedding.
- Check the pressure hose and lid switch periodically for wear, especially on machines more than five or six years old.
- Address a humming or clicking noise early, before a worn coupling or belt fails completely
Expert Troubleshooting Tip
A simple diagnostic method that can save time and avoid replacing good parts.
One of the biggest mistakes homeowners make is replacing the first part they suspect without confirming the actual cause. Because several different failures can produce the same symptom, it’s best to follow the washer’s cycle in order. Start with the components that send signals to the control board before moving on to motors or electronic parts. This systematic approach is faster, more accurate, and often prevents unnecessary repair costs.
Recommended Diagnostic Order
- Confirm the lid switch or door latch is operating correctly.
- Perform a complete power reset.
- Inspect the pressure switch hose for damage or blockage.
- Clean the drain filter and verify proper drainage.
- Listen for humming, clicking, or unusual noises during the cycle.
- Inspect the drive belt or motor coupling if the tub never begins washing.
- Only consider timer or control board problems after the simpler checks have been completed.
FixAppLab Recommendation: In many cases, homeowners solve this problem by checking the lid switch, pressure hose, or drain filter first. Following the diagnostic order above reduces guesswork and helps identify the real fault before replacing expensive components.
When It’s Worth Calling a Professional
Plenty of these fixes are well within reach for a homeowner with a screwdriver and a multimeter. But if you’ve already checked the lid switch, pressure hose, drain filter, and motor coupling and the washer still fills with water then stops, the problem is likely deeper in the wiring harness or control board. Diagnosing those parts correctly takes testing equipment and model-specific knowledge, and getting it wrong often means paying to replace a part that was never actually broken.
It’s also worth calling a technician right away if you notice a burning smell, see water leaking from the cabinet, or the washer is still under warranty. opening it up yourself in that last case can sometimes void your coverage. A washer full of water not spinning often points to a more complex electrical or drive system problem that may require professional diagnosis.
Estimate Your Washing Machine Repair Cost
Not sure whether it’s worth repairing your washer or replacing it? Repair costs can vary depending on whether the problem is a faulty lid switch, pressure switch, drive belt, motor coupling, drain pump, or electronic control board. Before booking a technician, use our free repair cost calculator to get a quick estimate based on the type of fault and your washer model.
Why Use the Repair Cost Calculator?
- Estimate repair costs in seconds.
- Compare repair costs with replacement costs.
- Understand which parts are usually the most expensive.
- Plan your repair budget before calling a technician.
- Make a more informed repair or replacement decision.
Getting Your Washer Back to Normal
In most cases, a washer that fills with water then stops comes down to something simple: a worn lid switch, a kinked pressure hose, or a clogged drain filter. Working through the checks in order. starting with the lid switch and ending with the motor coupling. will get most homeowners to an answer without a full teardown. If you’ve covered all the basics and the washer still won’t move past the fill stage, that’s your signal to bring in a professional before the issue causes any further wear on the machine.


Comments